This is the backend application for React Music, a sample application demonstrating the use of database services on Cloud Foundry. This application uses Spring Boot and the Spring Framework to make use of bean profiles which configure the application.
To run the full React Music application, refer to the React Music Frontend.
To begin, clone this repository onto your machine.
Start the application by navigating into the project directory. Use the following command specifying either mysqllocal or
in-memory as the <profile_name>:
$ ./gradlew clean assemble && java -jar -Dspring.profiles.active=<profile_name> build/libs/gs-spring-boot-0.1.0.jar
If mysqllocal is specified, the database server must be started separately. See Creating and Binding Services below for guidance on
setting up mysqllocal. If no profile is specified, in-memory will be used.
The application will be started on the default port localhost:8080/.
Install the 'cf' command-line interface for Cloud Foundry, log in to Cloud Foundry, and target a Cloud Foundry instance. The application will find the database service to which it is bound and configure the
corresponding Spring profile. The application defaults to the in-memory datasource. To use mysqlcloud, refer to Creating and Binding Services
below.
The application can be built and pushed with these commands:
$ ./gradlew clean assemble
$ cf push <app name>
Access your application (built with the specifications from the manifest.yml file) by curling the URL given near the end
of the output from the command. Access the raw data by curling the /albums endpoint.
To run the full React Music Application, be sure to push the frontend to Cloud Foundry, as well. You will then be ready to add services!
You can create and configure database services to the application with the instructions below.
If your Cloud Foundry service provider offers persistence services on its platform, you can do the following to create and bind a service that is managed by the platform:
# view the services available
$ cf marketplace
# create a service instance
$ cf create-service <service> <service plan> <service name>
# bind the service instance to the application
$ cf bind-service <app name> <service name>
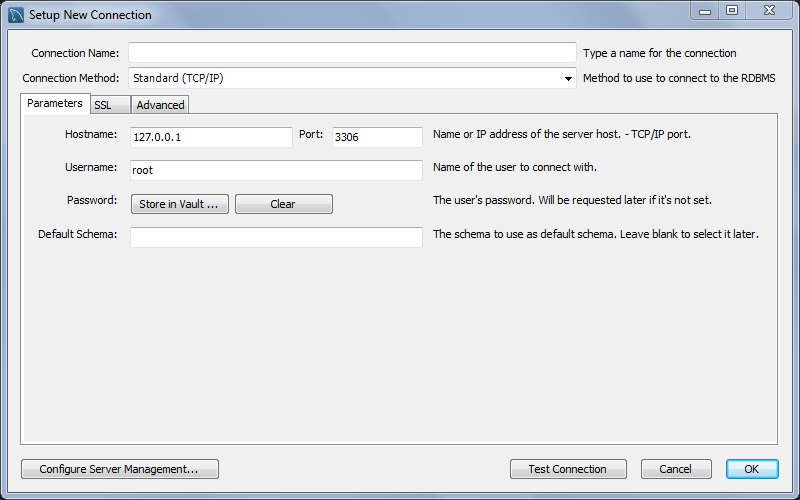
Use Workbench or another MySQL GUI to set up your database. Connect your GUI to
the service instance by inputting the service instance credentials (connection name, username, password) in the GUI.
To load data into your GUI, do the following:
- Import the data from the CSV file located at
./src/resources/AlbumList.csvinto the GUI. Every column name should be aString. - Name your table
albums. - Add another column called
id. Set the datatype toINTand select:PRIMARY KEY,AUTO-INCREMENT.
Then, locate the following variables in ./src/resources/application-mysqlcloud.properties and ./src/resources/application-mysqllocal.properties:
urlusernamepassword
and replace them with the url, username, and password of your service instance.
Then, in your manifest.yml file, replace the JAVA_OPTS line with:
# Changes active profile to mysqlcloud
$ JAVA_OPTS: -Dspring.profiles.active=mysqlcloud
Do the following to run the application with the service:
# kill all running instances
$ pkill -9 java
# re-build the project
$ ./gradlew clean assemble && java -jar -Dspring.profiles.active=mysqllocal build/libs/gs-spring-boot-0.1.0.jar
# push the application to Cloud Foundry
$ cf push <app name>
React Music contains different endpoints that you can curl:
/albums: View the raw data/profiles: View active profiles/services: View bound services/killswitch: Kills web page
