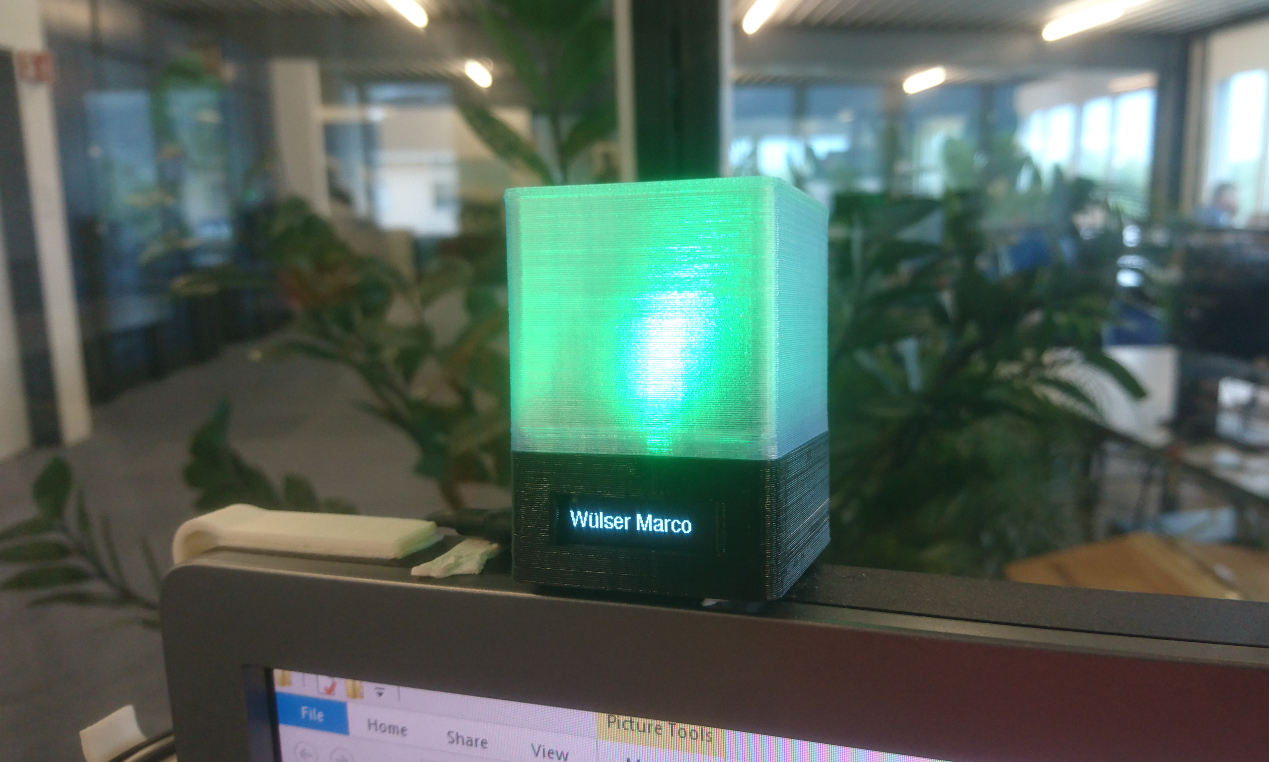
Set LyncDisplayLight and blink(1) based on Skype for Business or Lync presence state.
Build your own LyncDisplayLight.
- Lync 2013 / Skype for Business 2016
- blink(1) SDK: https://github.com/todbot/blink1/tree/master/windows/ManagedBlink1
- Arduino LEDs: https://github.com/grafmar/LyncDisplayLight
- Lync 2013 SDK: https://www.microsoft.com/en-us/download/details.aspx?id=36824
- Download the zipped setup directory available for V0.6.0.0: LyncPresenceBridge_0.6.0.0_Setup.zip or you can also download the source and compile it for yourself.
- Unzip the file
- Execute setup.exe which installs it as application
- Plug the LyncDisplayLight device in.
- Open Device Manager to check which serial port it uses (
USB-SERIAL CH340in Ports section)- If the device is not recognized correctely you have to install the driver from http://www.arduined.eu/ch340-windows-8-driver-download/
- Start LyncPresenceBridge from start menu (if not started automatically, yet)
- In Taskbar look for the LyncDisplayLight-Symbol. Right-Click -> Settings -> set the Arduino Serial Port -> OK
- It should be possible to set the colors now by Right-Click and choose the status
- Skype for Business or Lync has to be started before starting the LyncPresenceLight. In case it does not connect just Right-Click, Exit and start it again from the start menu
- To automatically start the application on windows startup:
- From the start menu type LyncPresenceBridge and right-click on it. Choose More -> Open File Location
- Copy the Application-Link-File
- Type "Win"+R and enter "shell:startup". This should open the Startup folder.
- Paste the previous copied Application-Link-File to this Startup folder
- Based on the works of Thomas Jensen; Lync-presence-bridge
- Based on the works of renenulsch; Lync-Blink-Bridge
