-
Notifications
You must be signed in to change notification settings - Fork 0
4. Stage generation
The web simulator enables users to dynamically generate and customize the simulation stage using JSON messages. Users can create obstacles, add new fossbot instances, and even modify the floor's image or terrain, all through specific JSON messages.
To interact with and manipulate the stage, the implemented Godot Environment class and its corresponding methods serve as valuable tools. For detailed information about this class and its documentation, please refer to this wiki from the fossbot-source repository.
With this powerful stage generation capability, users can design and simulate various scenarios, experiment with different configurations, and thoroughly test their robot's capabilities and adaptability in diverse environments. The flexibility of the stage generation allows for a wide range of testing scenarios, facilitating comprehensive and efficient robotics development and experimentation.
The web simulator offers a diverse selection of obstacles to enrich the simulation environment. Users can interact with three types of obstacles: cubes, cones, and spheres. Each of these obstacles can be extensively customized to suit the user's specific needs and creative vision.
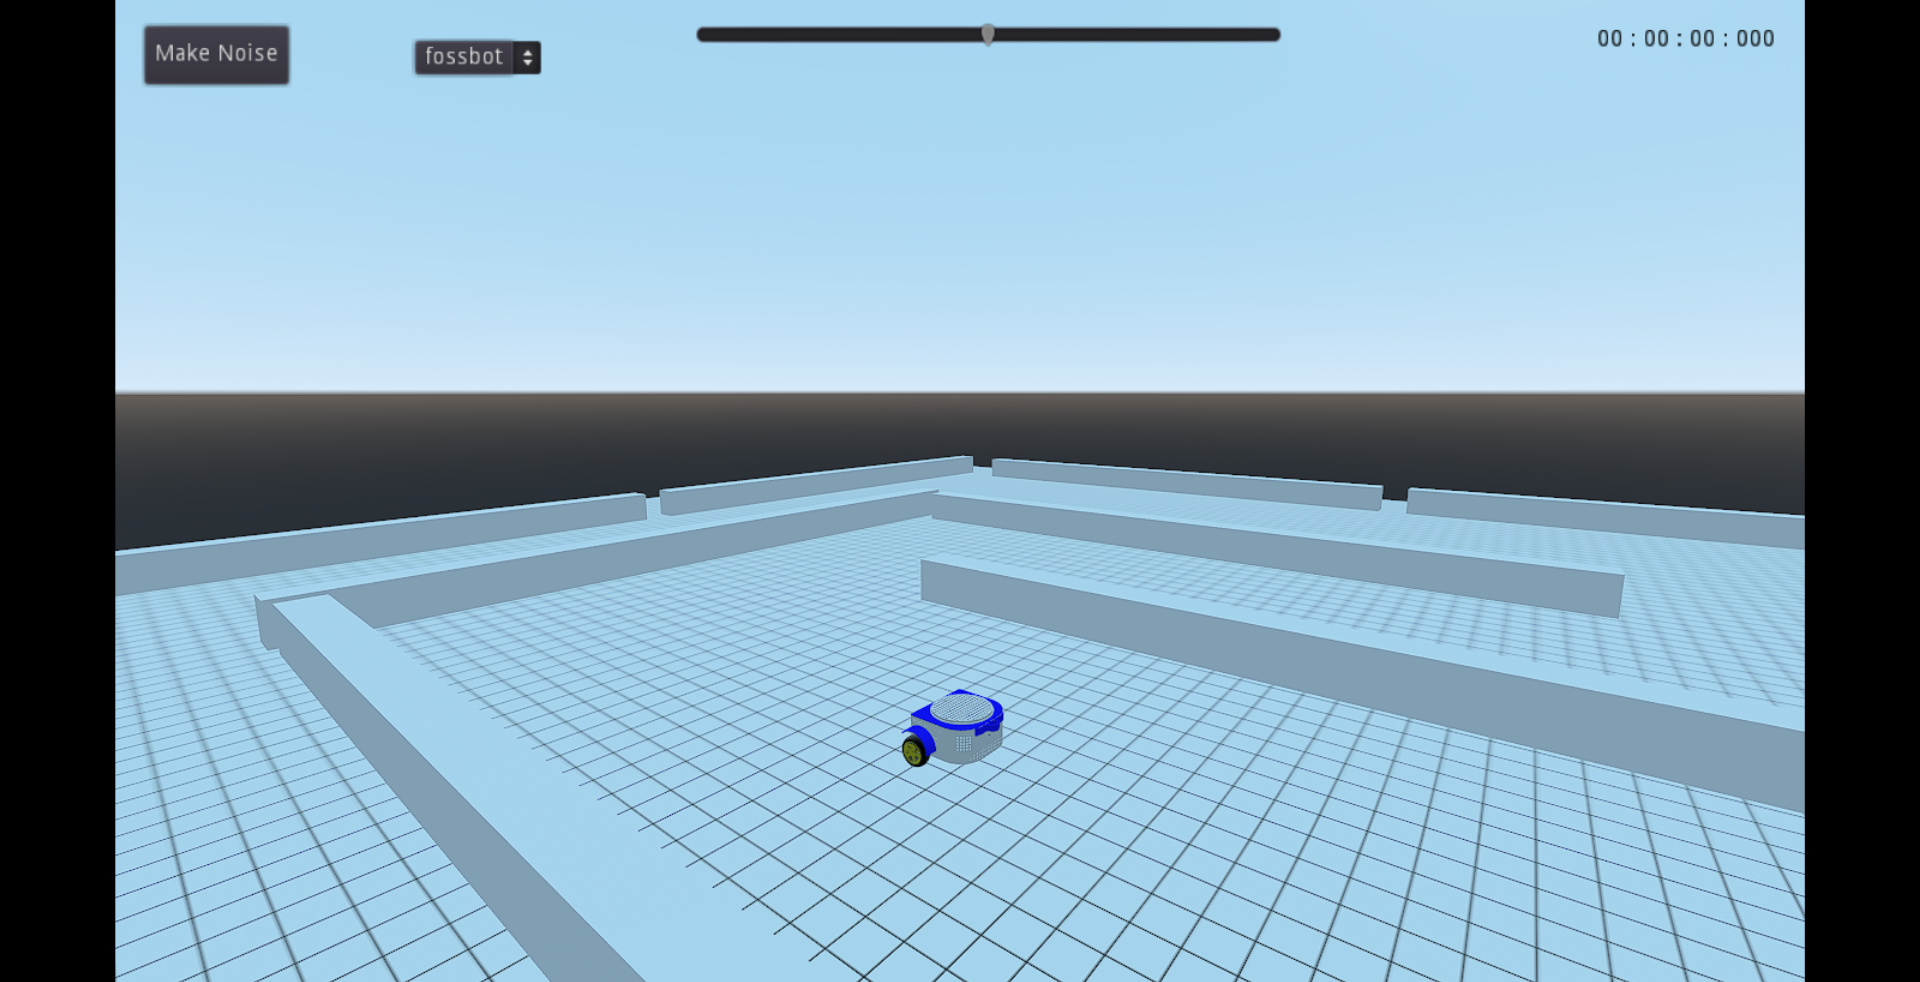 Example of obstacles on stage.
- Scaling: Users have the freedom to scale cubes and cones along all axes, allowing for the creation of unique and varied shapes. Scaling provides the ability to transform basic shapes into more complex and interesting obstacles.
- Position: The spawn position of cubes and cones can be defined, enabling precise placement within the simulation environment. This level of control allows users to create obstacle arrangements that challenge their robots and test their abilities effectively.
- Rotation: Users can specify the rotation of cubes and cones, further enhancing the variety and complexity of the obstacles. By adjusting the rotation, users can create obstacles with different orientations, adding an extra layer of challenge to their simulations.
- Color: Customizing the color of cubes and cones adds a visual dimension to the simulation environment. Users can choose colors that fit the theme of their simulations or represent different elements within the scene.

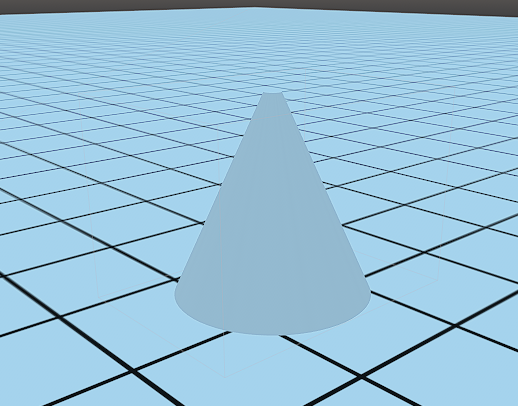
Images of a cube and a cone obstacle.
- Scaling: Spheres can be scaled exclusively along their radius, allowing users to control their size and visual impact.
- Position: Like cubes and cones, the spawn position of spheres can be precisely defined, providing complete control over their placement in the simulation environment.
- Color: User can also define the color of the sphere.

Image of a sphere obstacle.
With this wide range of customization options, users can craft intricate and engaging obstacle courses and challenging scenarios for fossbot.
In the web simulator, users have the opportunity to spawn and control multiple fossbot instances dynamically within the simulation environment by using the godot environment class in python here.
Upon spawning, each fossbot instance is automatically assigned a unique name. The naming convention follows a sequential pattern, starting with "fossbot" and incrementing the number for each additional fossbot. For instance, the first spawned fossbot will be named "fossbot," the second will be named "fossbot2," and so on. This naming system ensures clear identification and distinction between different fossbots in the simulation.
When spawning a new fossbot instance, users can define several key attributes to tailor its appearance and position within the simulation:
-
Position: Users can specify the exact spawn position for each fossbot. This capability allows for the precise arrangement of fossbots within the environment, enabling the creation of specific scenarios and challenges.
-
Rotation: By defining the initial rotation of each fossbot, users can influence their orientation in the simulation. This feature is useful for setting up unique starting configurations or aligning fossbots along particular paths.
-
Color: The option to customize the color of each spawned fossbot adds visual distinction and personalization to the simulation. Users can choose colors that align with their robot designs or use different colors to differentiate between multiple fossbots.
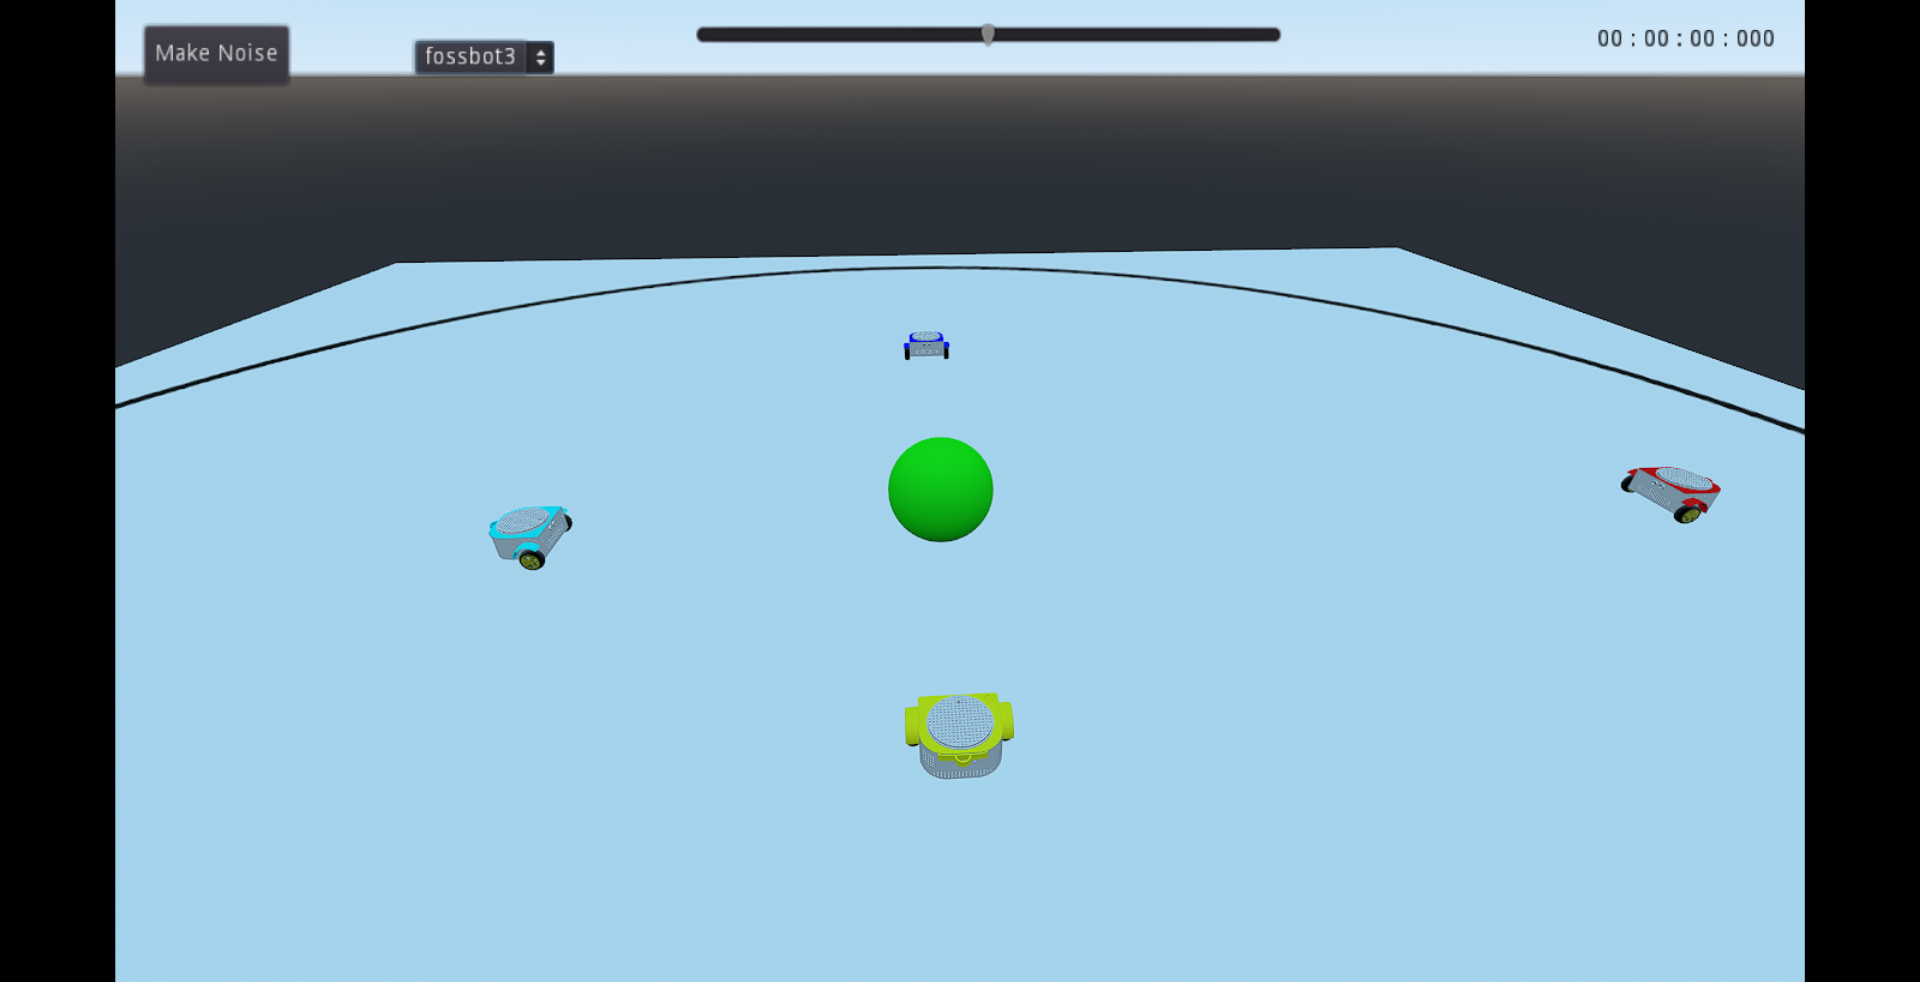 Example of many fossbots on stage.
With the ability to spawn and control multiple fossbot instances and the flexibility to customize their attributes, users can design intricate and diverse scenarios.
The floor is also a node that I have implemented and contains methods to change its scale, image and terrain.
In the web simulator, user can transform the appearance of the floor node by loading images onto it. This feature allows for a variety of applications, including line-following experiments and the customization of the simulation environment.
To achieve this, two functions have been implemented within the godot environment class:
-
draw_image_floor_autoThis function enables users to easily change the floor's appearance by drawing an image that is automatically scaled to fit the floor of the simulation. The user should only provide the path to an image stored on their computer as an input parameter. The simulator then loads and displays the image on the floor, transforming the floor "skin" to match the user's image. -
draw_image_floorSimilar to the previous method, this function allows users to load images onto the floor. However, in this case, users have the added flexibility of manually defining the scale of the image within the simulation. This provides greater control over the image's size, enabling precise adjustments to match specific requirements. This function also has thetriplanarmode, where the image is loaded multiple times, side by side.
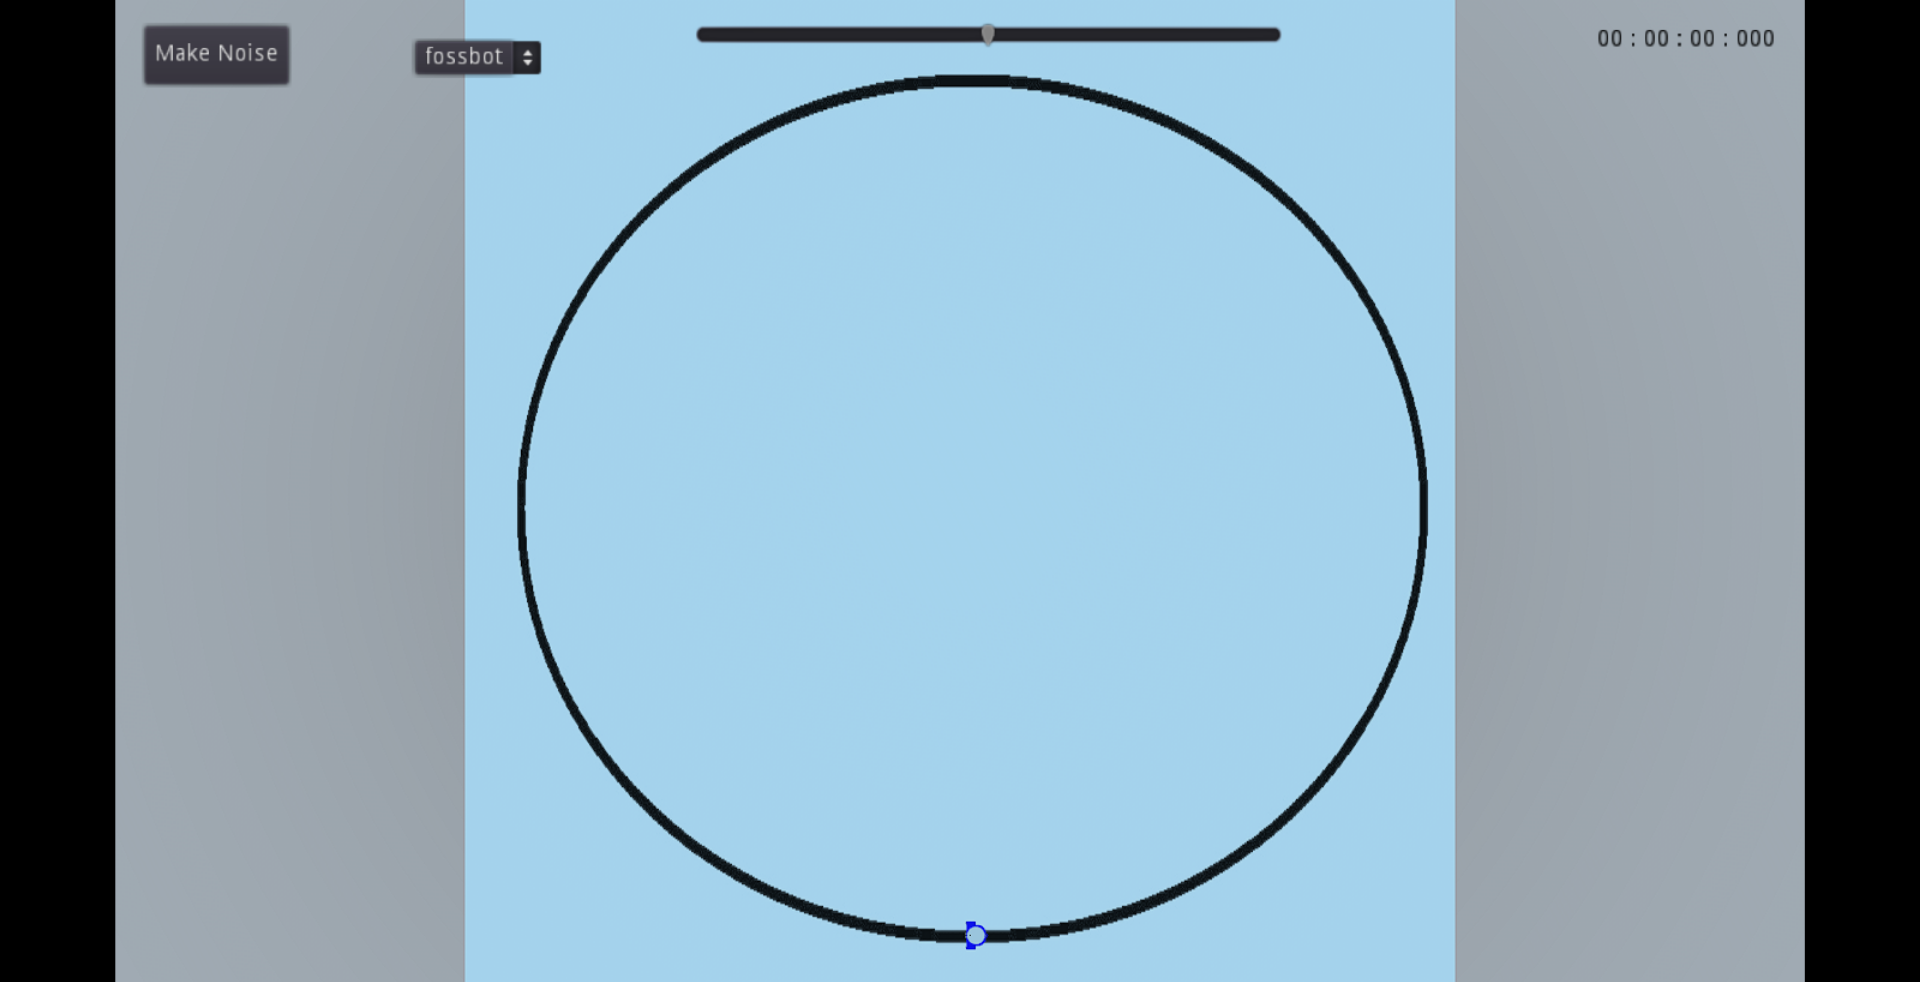 Example of image loaded on floor.
- Note: Supported image formats for this method are PNG or JPG images.
In the web simulator, users can manipulate the terrain of the floor using a heightmap image. By employing the change_floor_terrain method, users can dynamically alter the landscape based on the provided heightmap image, offering endless possibilities for terrain generation and experimentation.
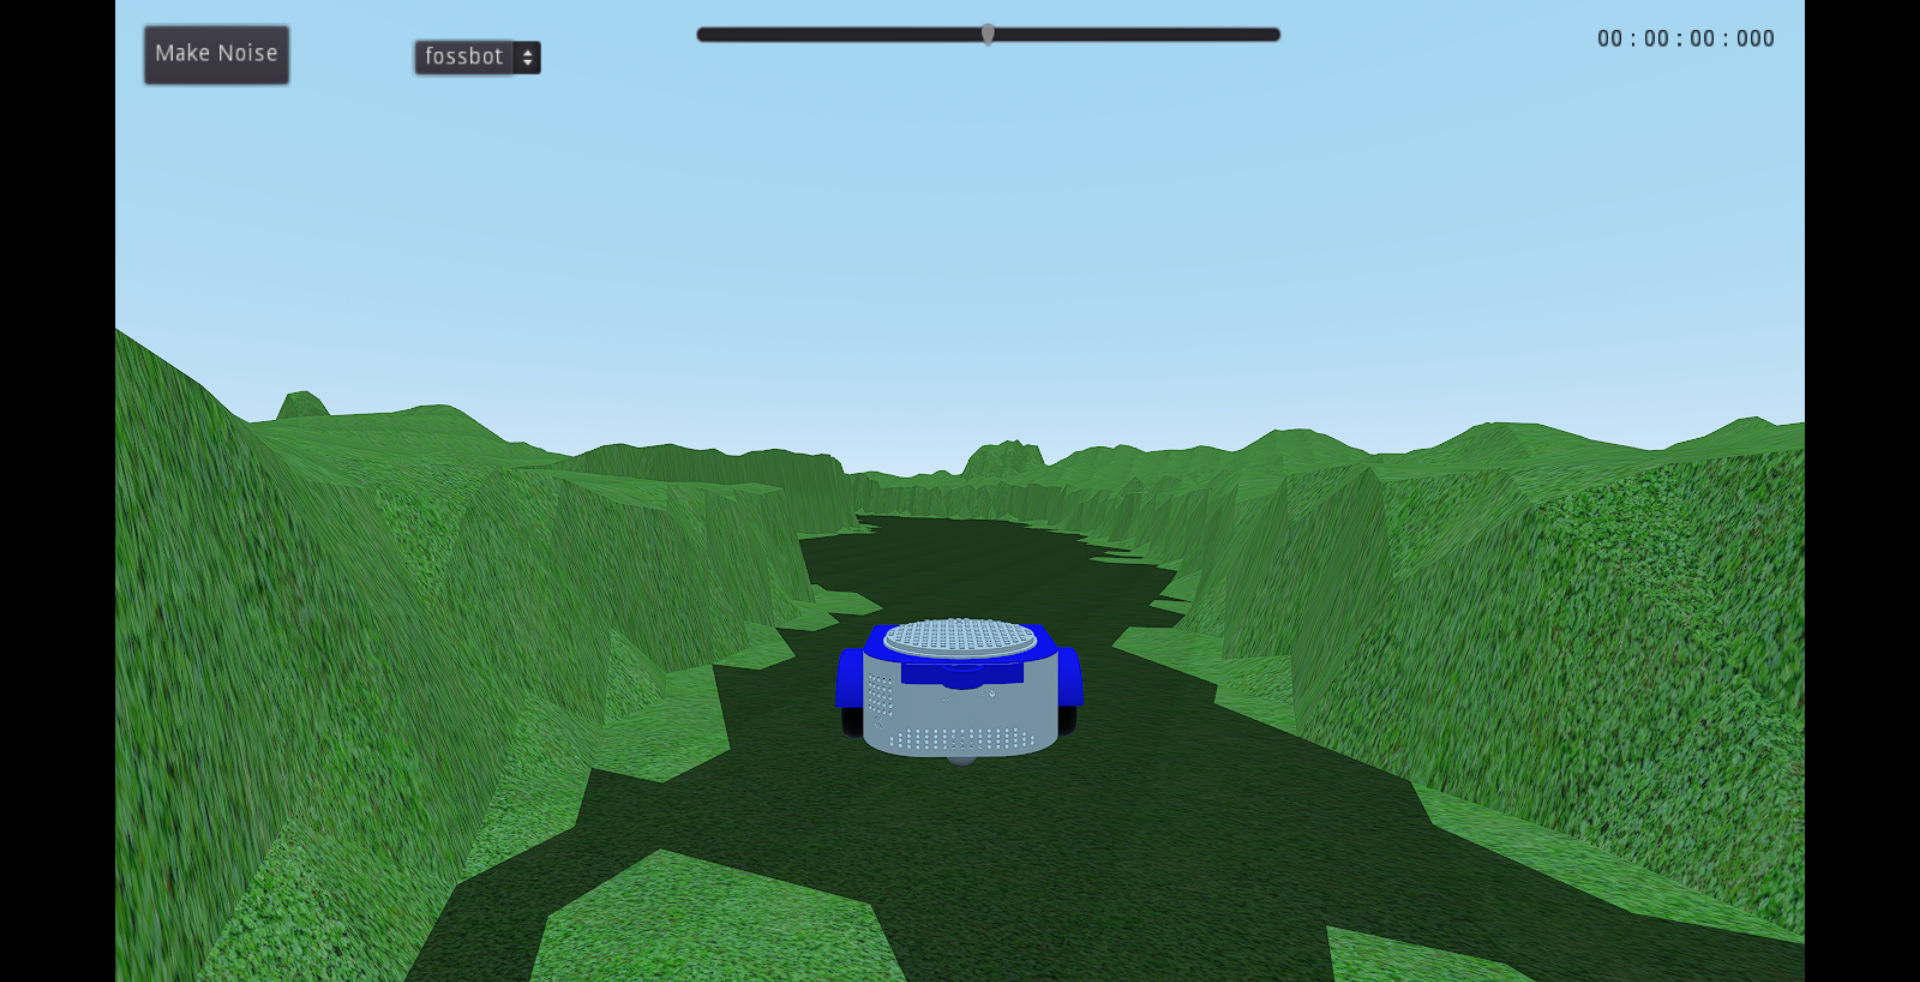 Example of floor terrain based on heightmap image.
- Note: Supported image formats for this method are PNG or JPG images.
Heightmap images are a widely used technique in game development to create realistic terrains. In this context, the web simulator leverages the same principle to generate floor terrains. The darker areas of the heightmap represent lower elevation, while the lighter areas correspond to higher elevation. By employing this intuitive approach, users can effortlessly craft diverse and intricate floor terrains, providing a rich environment for testing and exploring fossbot functionalities.
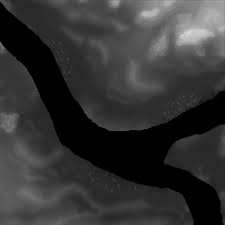
Example of heightmap image used for terrain generation.
The change_floor_terrain method enables users to continuously modify the floor's terrain, allowing for real-time adjustments and experimentation. This interactive feature allows users to evaluate how different terrains affect the behavior of their fossbots, making it an ideal tool for testing and optimizing various control algorithms.
For users who wish to revert the floor terrain to its original scene state, the reset_floor_terrain function is available. This convenient feature allows users to reset the floor to its initial layout, offering a clean slate for new experiments and scenarios.
Additionally, the web simulator provides a change_floor_size function that allows users to scale the size of the floor according to their needs. By specifying the desired scale, users can easily adjust the floor's dimensions to accommodate different simulation requirements. It's essential to note that to reset the floor to its original size after scaling, users should rescale it proportionally, for example, scaling it to size 1/2 if it was previously scaled to size 2.