Skip to content

Hackintosh with a Intel Nuc of 8th Generation /// Hackintosh con un Intel Nuc de 8va Generacion

Notifications You must be signed in to change notification settings

FennecChazDevlop/NUCKINTOSH

Folders and files

NameName
Last commit message
Last commit date

Latest commit


History

13 Commits


Repository files navigation

Nuckintosh 8th generation ( Model Nuc8I3BEH )

INDEX


Nuckintosh 8th generation ( Model Nuc8I3BEH )

Compatible with MacOS Catalina, Big sur, Monterey

Also works with Nuc8IXBEX i3 / i5 / i7

Reference Image


nuc


You can buy one in ebay for a cheap price ( in my case, i bought one for only 275 USD with 8GB ram and SSD M.2 240GB, To be fair very great deal )


nuc


YOU CAN BUY ONE IN HERE:


Getting Started

What will you Need


  • Obviously a INTEL NUC
  • Patience
  • Around 1-2 hours
  • Windows Based Machine
  • Pendrive 2.0 with at least 16gb, not too old btw
  • Basic CMD knowledge
  • Installation EFI FOLDER, Post-Install EFI FOLDER, Both can be found in this repo ( Releases )

What contains the Post-Install EFI Folder


  • Airportltlwm.kext
  • AppleALC.kext
  • IntelBluetoothFirmware.kext
  • IntelBluetoothInjector.kext
  • IntelMausi.Kext
  • Lilu.kext
  • Sinetek-rtsx.kext
  • SMCProcessor.kext
  • SMCSuperIO.kext
  • USBports.kexts
  • VirtualSMC.kext
  • WhateverGreen.kext
  • Custom SSDT For Intel Nuc's8IXBEX

What is working


  • Audio (HDMI and Headphone jack)
  • Audio controls
  • Bluetooth
  • Ethernet
  • Wifi
  • USB 3.0
  • USB Type C (ThunderVolt)
  • UP To Quad Booting (Linux, Android(Home Center), Windows and macOS)
  • microSD Card reader
  • ICLOUD
  • Facetime, Imessages, Iservices

UnTested / Not Working


  • 4k Resolution UNTESTED
  • Type C to HDMI or DisplayPort NotWorking
  • 4+ usb Hub Not Working
  • 144hz Monitor UNTESTED

Finished Work be like


happy


Prepare Machine ( BIOS UPDATE )

1.- First we need to update our Nuc's bios from XXXX ---> 0089.

To do that we need to download the bios updater from Intel's Webpage and Download the first One as a windows executable (.exe / .msi)


intel1


intel2


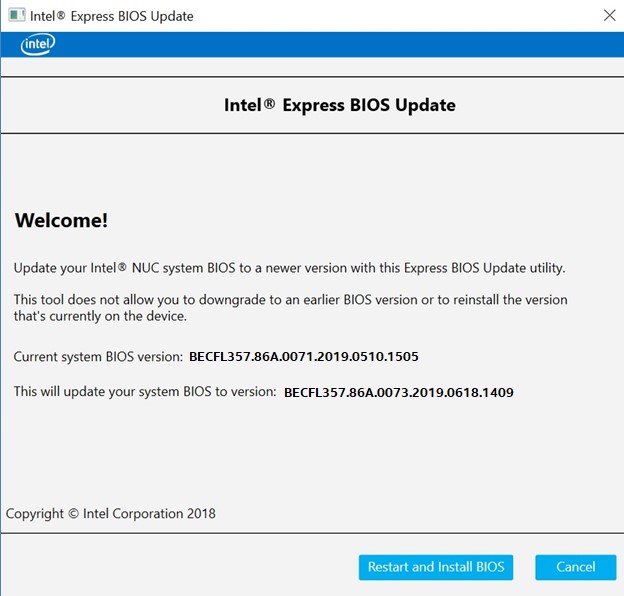
2.- Double-click the *.msi file to run the Express BIOS update.


nuc22


3.- DClick Restart and Install BIOS on the Welcome screen.


nuc33


Prepare Machine ( BIOS Configuration )

1.- Reset default Settings

Home > Default Settings > Confirm > Yes

2.- Follow the Next Configuration in Devices

Devices > USB > Port Device Charging Mode: off
Devices > USB > USB Legacy -> Disabled

3.- Change Type C's Security Level in security section

Security > Thunderbolt Security Level: Legacy Mode

4.- Disable Secure Boot and Network Boot in Boot section

Boot > Secure Boot > Disable
Boot > Boot Configuration > Network Boot: Disable

5.- Disable Lan Boot in Power section

Power -> Wake on LAN from S4/S5: Stay Off

Prepare USB

1.- Downlaod the Installation EFI From this repository


2.- Download Rufus From his official site

 Rufus

3.- Format your USB Drive as Fat32 and set it as Non-Bootable


just like the next image

 Rufus2


4.- Copy the INSTALLATION EFI-FOLDER directly to the root of the USB DRIVE


The Route Should be like this

D:/EFI

5.- Load the MacOS System to your USB DRIVE


Create a Folder with this name

com.apple.recovery.boot

Next Copy your Recovery System of MacOS .DMG and his .ChunkList

to the

com.apple.recovery.boot

Folder

PD: You can get your MacOS .dmg and .chunklist from gibMacOS


Installation

The installation Process is easy

1.- Shutdown Intel Nuc

2.- Power ON and go to the Bios

3.- Set USB Drive as Primary Bootable Device

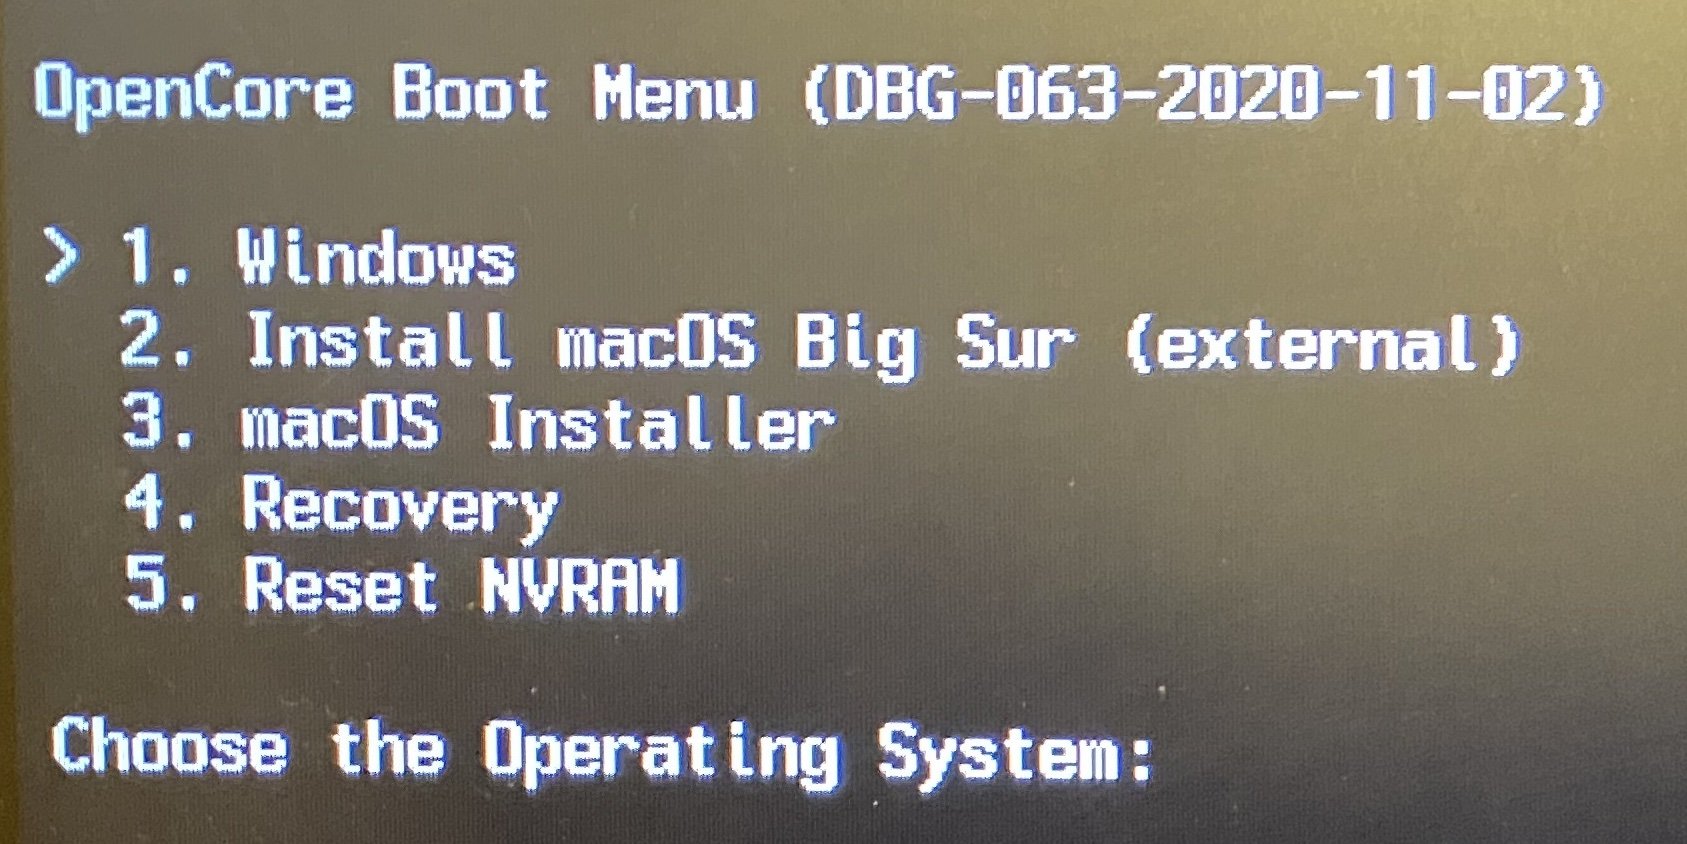
You will get a boot screen Like this --->

 OCL

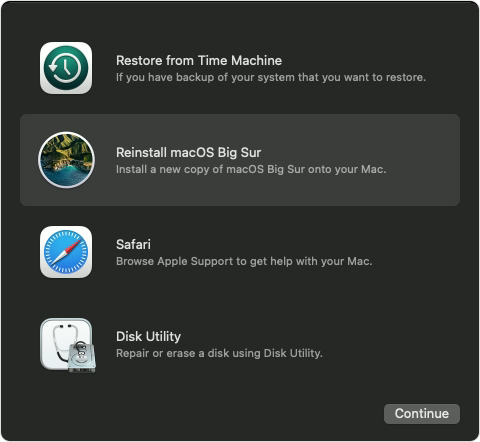
4.- Load MacOS Recovery

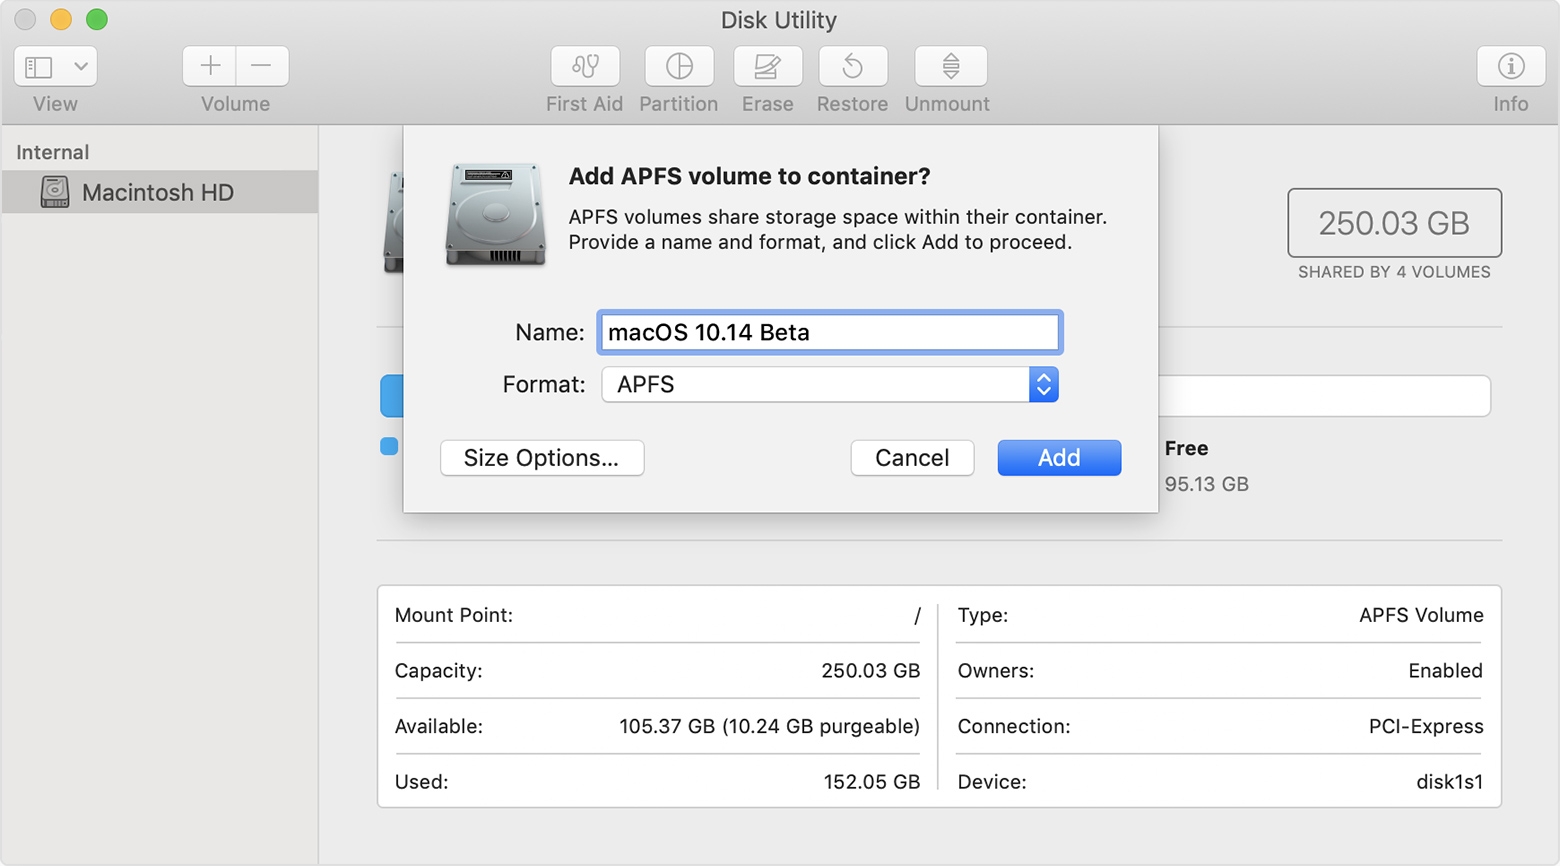
5.- Use Disk Utility to format your Mac OS dedicated Disk or Partition to APFS ( Reference IMAGE )

 OCL

6.- Then Install MacOS as an ordinary APPLE DEVICE

 OCL

Post-Install

There's no much things to do, more than

> - Change the EFI FOLDER To the post install Version

> - Using OpenCoreConfigurator Open your SSD or HDD EFI Partition and Paste the Post-Install EFI Folder

> - If you want you can use BarrierKVM to use your main pc Mouse and Keyboard with your NEW NUCKINTOSH :D

Fix iservices and icloud

Dortania Have a very nice explanatory of how to fix the Mac Services, and much better explained than me so the best option is use his guide


Credits to Dortania And his Awesome Guide, and this Awesome Comunnity !!! I hope this porly contribution helps someone <3

About

Hackintosh with a Intel Nuc of 8th Generation /// Hackintosh con un Intel Nuc de 8va Generacion

Topics

Resources

Stars

Watchers

Forks

Packages

No packages published

Languages