-
Notifications
You must be signed in to change notification settings - Fork 18
Data Portal installation on Windows 10
Tested with CKAN 2.8.3 on Windows 10
- Click the windows button in the lower-left corner of the screen
- Type "cmd" into the search field
- When the selection says "Command Prompt", press Enter
- Click the windows button in the lower-left corner of the screen
- Type "power" into the search field
- When the selection says "PowerShell", press Enter
-
Install Python 2.7 (python-2.7.16.msi / python-2.7.16.amd64.msi)
-
Add the
Python27directory to yourPATHso your system has access to the Python commands by typing the following command inpowershell:
[Environment]::SetEnvironmentVariable("Path", "$env:Path;C:\Python27\;C:\Python27\Scripts\", "User")- Install
virtualenvto manage your Python environments by typing the following command in the Command Prompt:
pip install virtualenv-
install Git (Git-2.22.0-32-bit.exe / Git-2.22.0-64-bit.exe)
-
Open the Git Bash desktop icon. The following steps must be completed by typing the commands in the Git Bash.
-
Set your name (replace
Your Namewith your first and last name, e.g.,Reuben Cummings):
git config --global user.name "Your Name"- Set your commit email address (replace
[email protected]with your email address, e.g.,[email protected]):
Note: This should be the same email address you used to signup for your GitHub account
git config --global user.email "[email protected]"- Check that both configurations have been set correctly:
git config --global --list- install pgadmin4-4.11-x86.exe
- In the top-right corner of the repo page, click Fork.
-
On GitHub, navigate to your fork of the data-portal repository, e.g.,
https://github.com/yourusername/data-portal -
Under the repository name, click Clone or download
- In the Clone with HTTPs section, click the clipboard icon to copy the clone URL for the repository.
- Create a directory to hold the cloned project by typing the following commands in the Git Bash:
mkdir Projects
cd Projects-
Type
git clone, and then paste the URL you copied in step 3 above. It will look likegit clone https://github.com/YOUR-USERNAME/data-portal, but with your GitHub username instead ofYOUR-USERNAME. -
Press Enter. Your local clone will be created.
The following steps must be completed by typing the commands in the Command Prompt.
- Create and activate a virtual environment:
cd %USERPROFILE%\Projects\data-portal
virtualenv --no-site-packages --python=python2.7 venv
source venv/bin/activate- Install required Python libraries
pip install -r requirements.txt -r dev-requirements.txt python-magic-bin- Patch the
fanstatic_resources.pyfile to work with Windows directories by typing the following command in the Git Bash.
mv fanstatic_resources.py src/ckan/ckan/lib/fanstatic_resources.py-
Download and install PostgreSQL: https://www.enterprisedb.com/downloads/postgres-postgresql-downloads
-
Choose version 11.5 Windows x86-64
-
You will need to select a superuser password. Remember it.
-
Other than that, though, you can follow all of the defaults (especially port, don't change the port).
-
When the installation is finished uncheck 'Launch Stack Builder at exit"
-
If you do launch Stack Builder, just exit without adding any additional components.
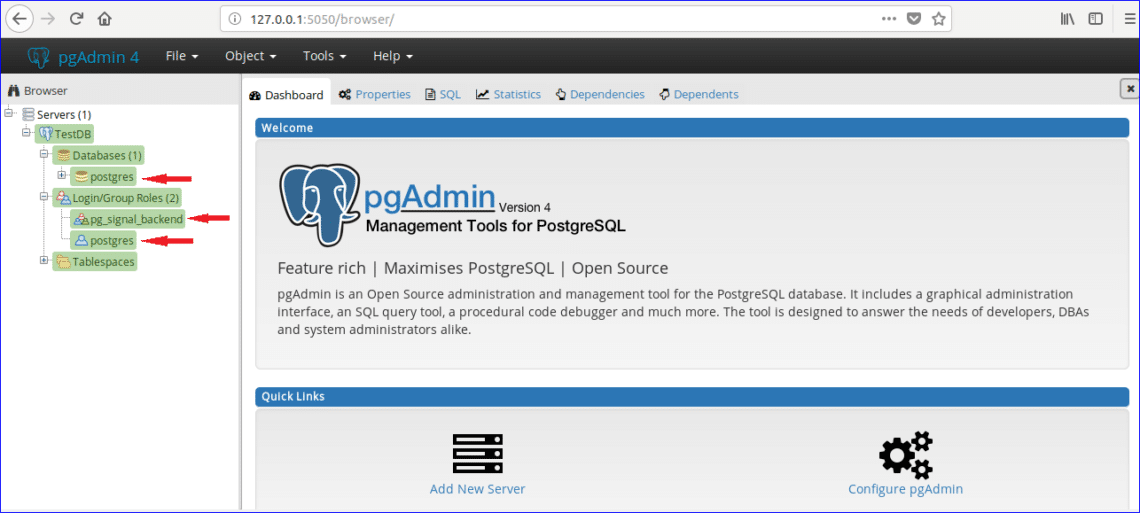
- The installation will have created a new program group called "PostgreSQL 11". Within that program group, launch "pgAdmin 4". This will launch the admin tool in your browser. It will ask for a master password. The password you remembered from earlier may not work, so you may need to reset the master password.
-
Navigate to Servers -> Databases -> Login/Group Roles from the left-hand side tree control
-
Right click on Login/Group Roles, select Create, and click on **Login/Group Roles… **
-
In the dialog box, type
ckan_defaultin Name field -
Click on the Definition tab and enter a user password
- Click on Privileges tab and enable the permission for
Can login?andCreate databases
- Click Save
-
Right click on Databases, select Create, and click Database…
-
In the dialog box, type
ckan_defaultin Database field -
In the dialog box, select
ckan_defaultas the Owner
The following steps must be completed by typing the commands in the Command Prompt.
- Open the
development.inifile and edit line 47
sqlalchemy.url = postgresql://ckan_default:password@localhost/ckan_default
to replace password with the password you chose in step 3 above.
Notepad development.ini- Create database tables
paster --plugin=ckan db init -c development.iniYou should see Initialising DB: SUCCESS
- Start ckan
paster --plugin=ckan serve development.iniYou should see serving on http://127.0.0.1:5000
- Open http://localhost:5000, and you should see the CKAN front page.
Reference:
:max_bytes(150000):strip_icc()/002_how-to-open-command-prompt-2618089-5c6467fbc9e77c0001566ec6.jpg)


